Hiking to Active Lava Flows on Hawaii’s Big Island
In January 2013, while vacationing on the Big Island of Hawaii, I had the chance to go on a hike out to the active lava flows from Kilauea. This is a fantastic experience, and one I highly recommend to anyone able to do it. Volcanos are one of the most powerful forces on Earth and the unique experience of this one is the ability to get right up close to lava in a (relatively) safe way.
If you’re interested in viewing more photos of the lava hike - my Flickr page has plenty.
Location
Kilauea flows into the south east side of the Big Island, south of Hilo.

The location of the active flows, is actually well outside Volcanoes National Park. The USGS keeps an updated site with maps explaining the current flows at http://hvo.wr.usgs.gov/maps/ This map is pretty close to what we saw.
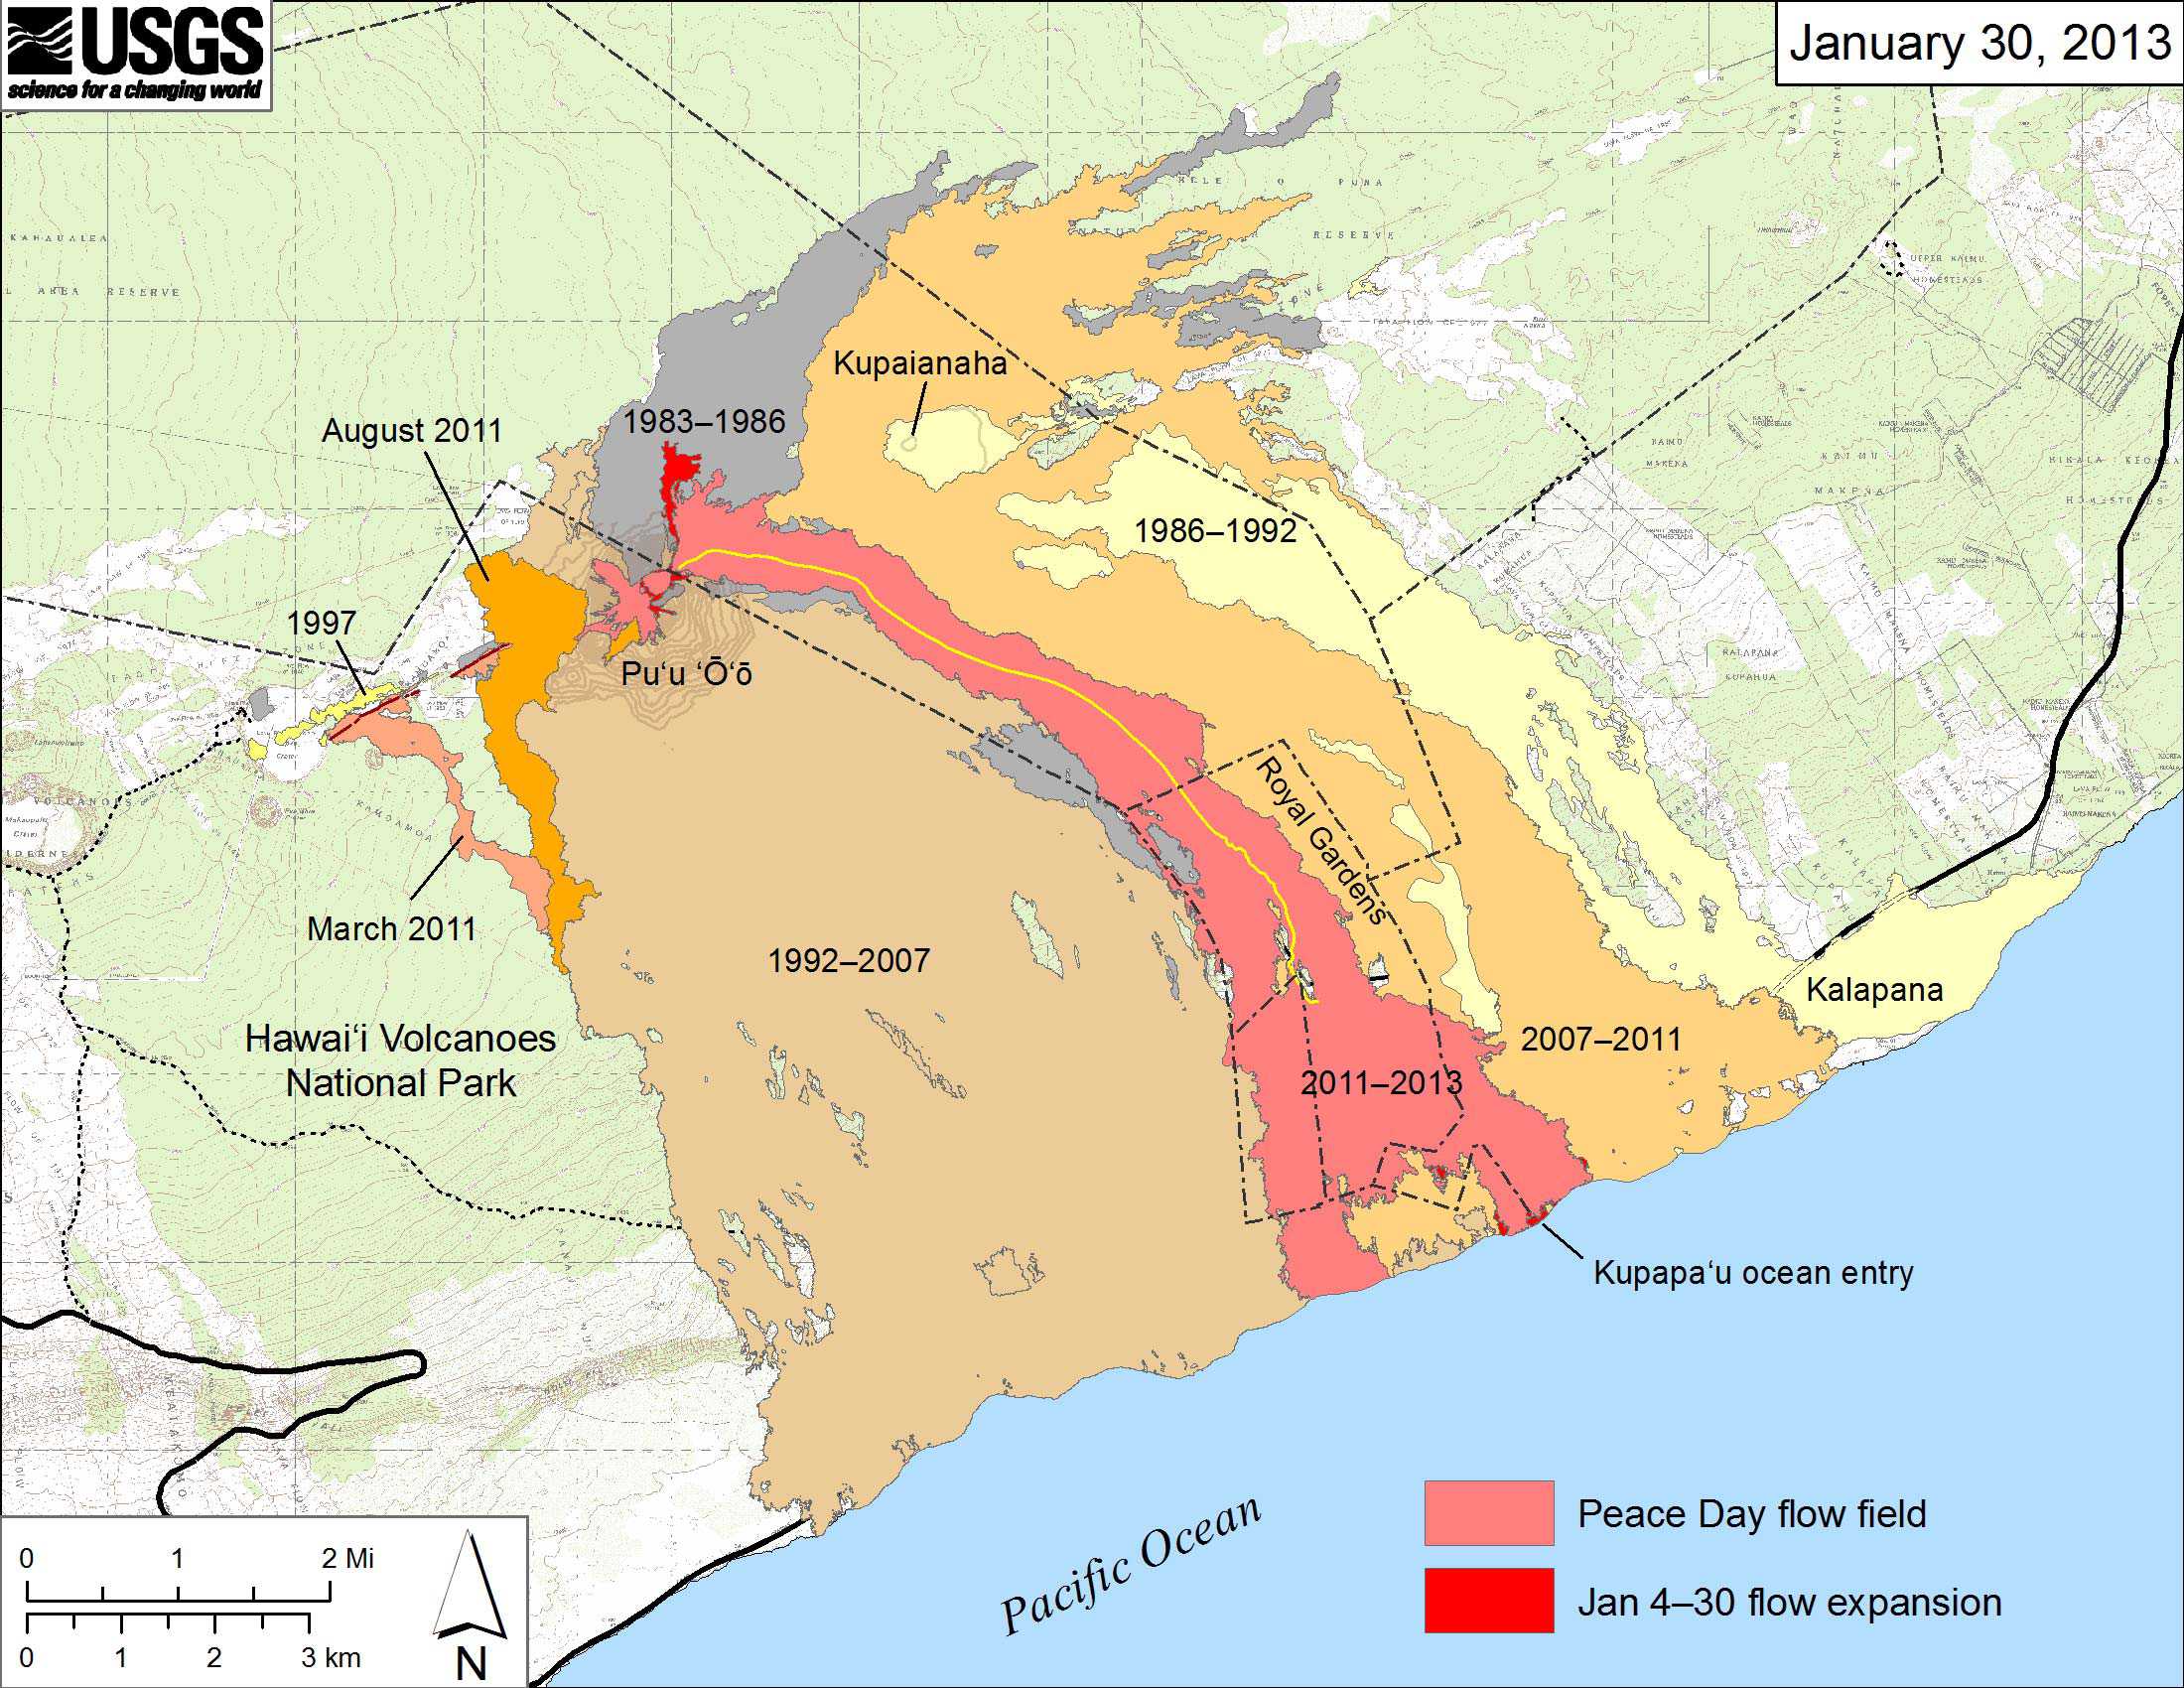
The way to approach the flow fields is from the end of Highway 130. It becomes a small access road, then delivers you straight to the flow fields.

There is parking at the end of 130, but we continued on to Lava Beds B&B to meet our guide.
Preparation and Advice
I highly recommend you go with a guide. These guys do hikes daily when the flows are active so are always up to date on where the best flow areas are, and are the best way to do it safely. In the pitch black, they know the way back. Our guide brought flashlights for everyone, but I also brought my own very high powered LED light. A headlamp is actually the best way to go since it is extremely dark (unless you have the advantage of being under a full moon) and it leaves your hands free. Our guide for the hike was David from http://lavahikes.com/
Photography Advice - bring a tripod (if you can afford the weight) as there are plenty of low light opportunities and some distance shots to be had. Since getting close to the ocean entries from land is difficult, I suggest a long lens for that plus a good fast lens for up close flows inland. Beyond that I don’t think there’s much advantage bringing a whole bag of lenses. Make sure you have lots of memory card space, you’ll want to take hundreds of photos of the flows then edit later. Stills are great, but seeing the lava move and flow is incredible, so bring something to take video with. Perhaps the best way to go is two cameras, a DSLR with a long lens and a good point-and-shoot for speed and weight.
Setting Off
We left from Lava Beds B&B (the blue house) around 4:30pm, which is only a hundred or so yards from the edge of the hardened lava flows. A little further out, and that house would end up looking like one we came across later.
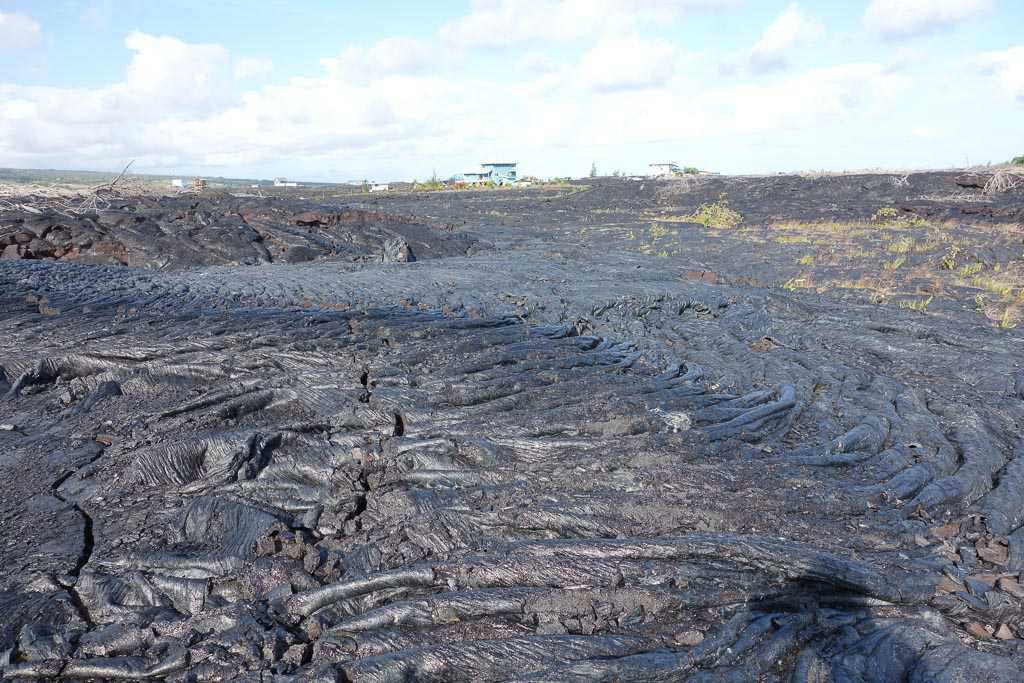
Ahead, nearly as far as the eye can see, is an expanse of hardened lava, which we began walking across. From the photos it looks as if the hardened lava might be slippery, but it’s not. The grip is actually quite remarkable, and it was possible to navigate the terrain even on sharp angles.
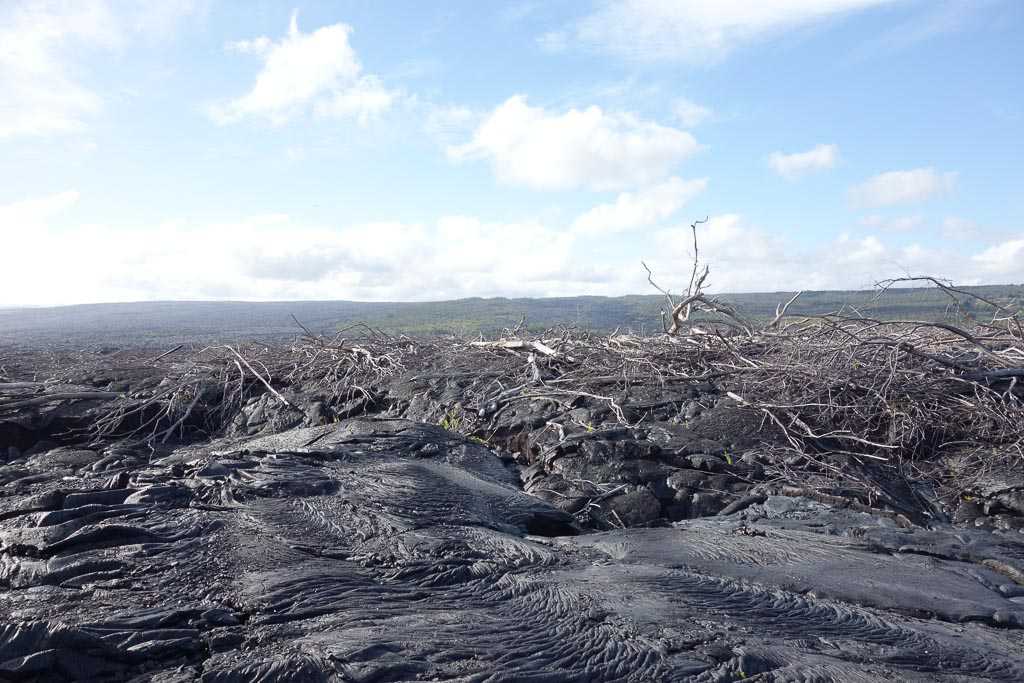
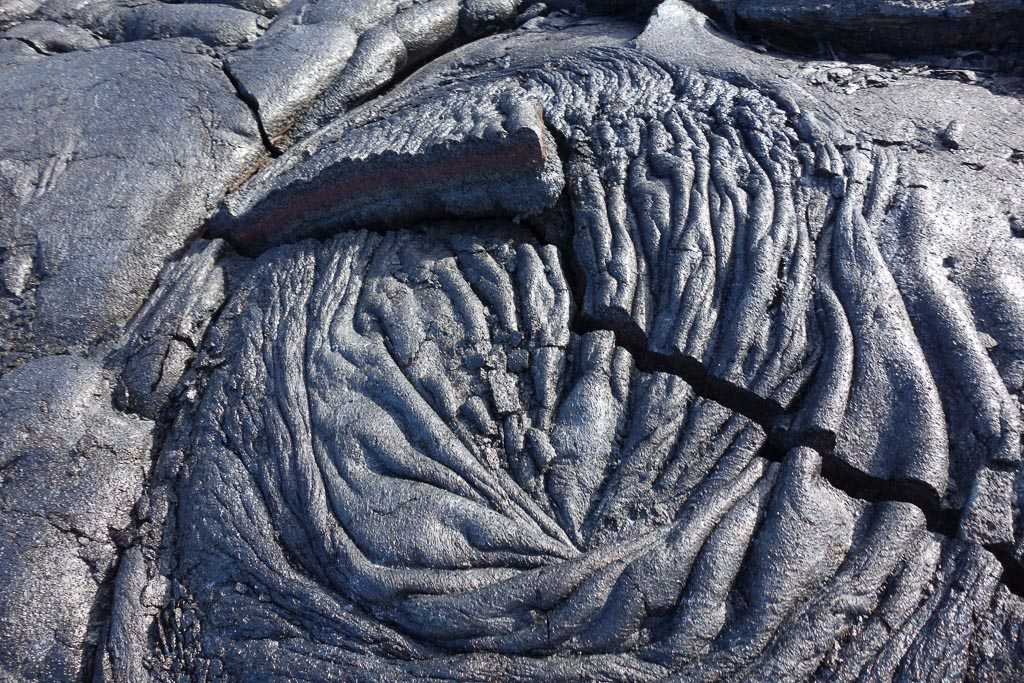
Hiking across the lava, one must pay attention to what is under foot. The hardened rock is full of cracks and fissures which have razor sharp edges. Some recommend hiking with work gloves on in case you have to set a hand down while walking (or falling).
As we progressed further out onto the lava, we came upon the burnt shell of a house that was just a little too far out. It was actually a place that had survived previous flows, and used to be surrounded by other houses, but it too eventually succumbed to a flow of lava.
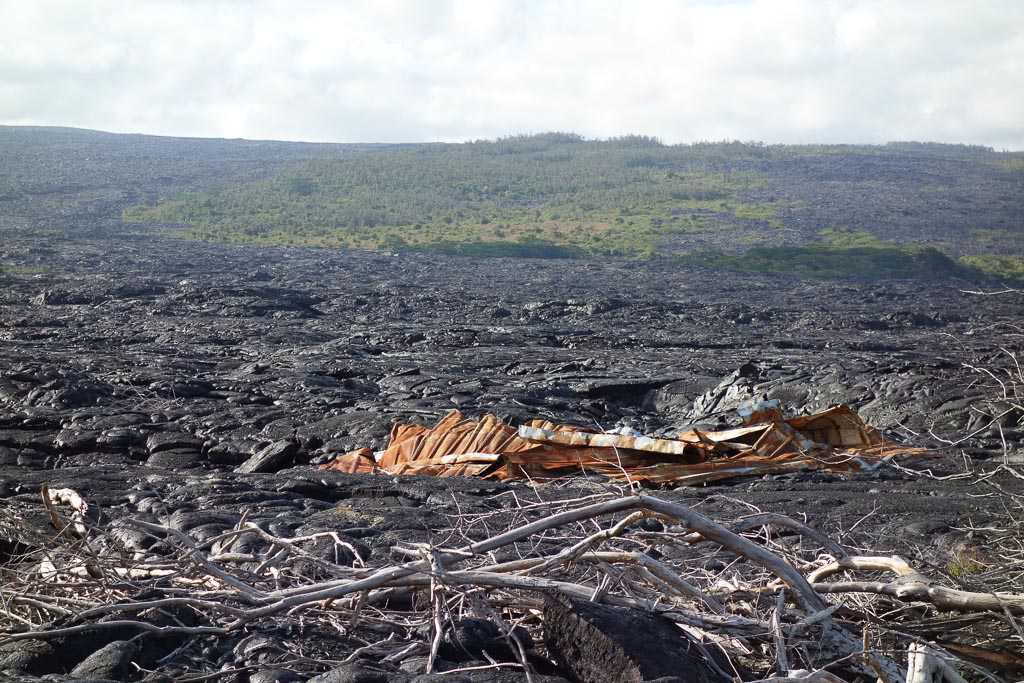
Along the way there are a number of burnt but not completely consumed trees laying around. In a number of places, you can see impressions of the trees left in the lava.
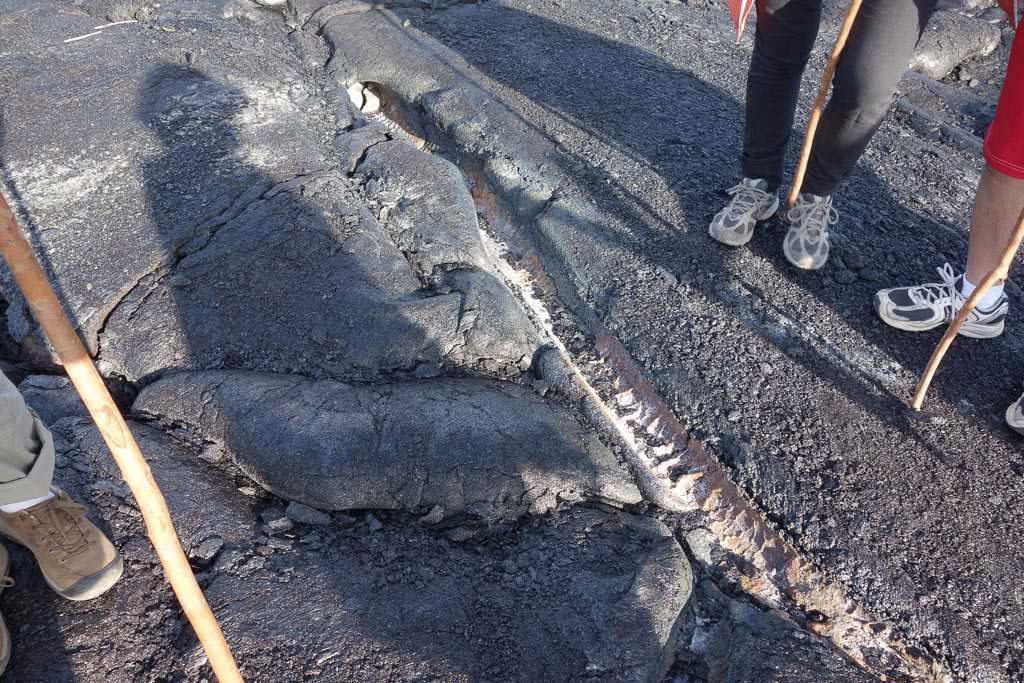
Some trees left larger marks in the lava. They were large enough to divert the flow of lava around rather than being knocked over. The lava cooled and hardened as it hit the trees and while the trees were then set ablaze and burnt through, the hardened lava left an impression from the trunk.
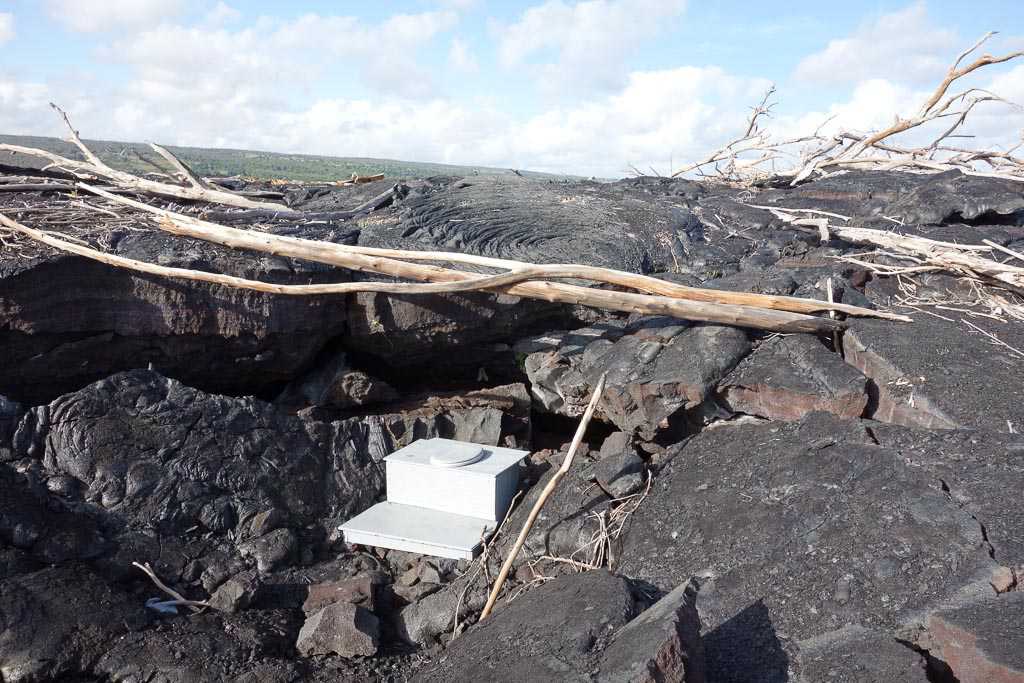
There are also a few other random surviving artifacts, like this toilet. If we had come across it on the walk back, I would have been tempted to try it out.
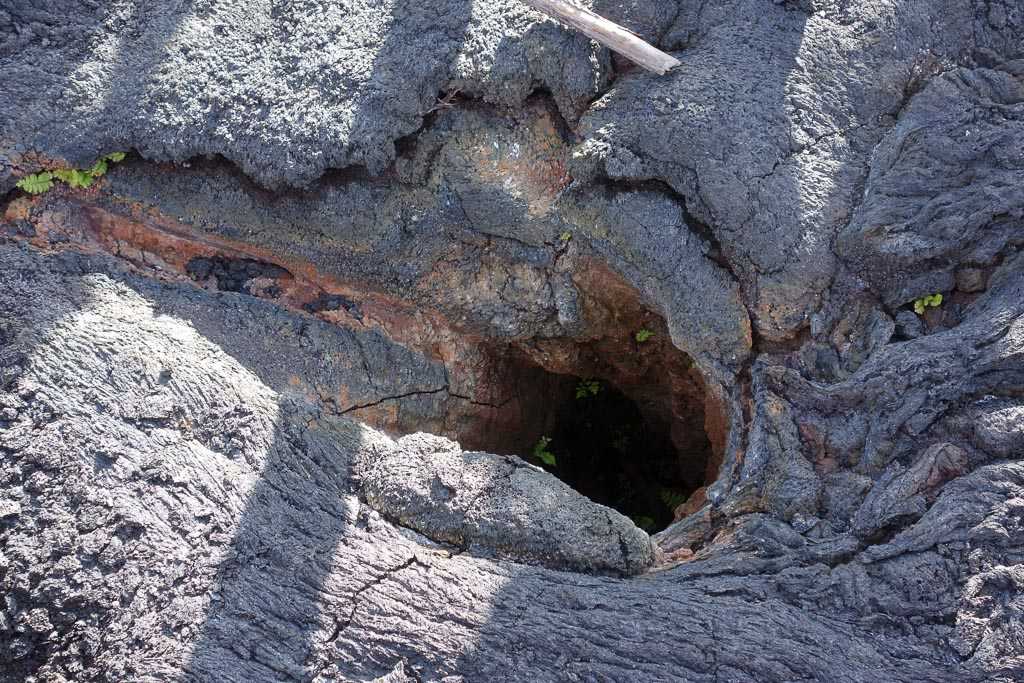
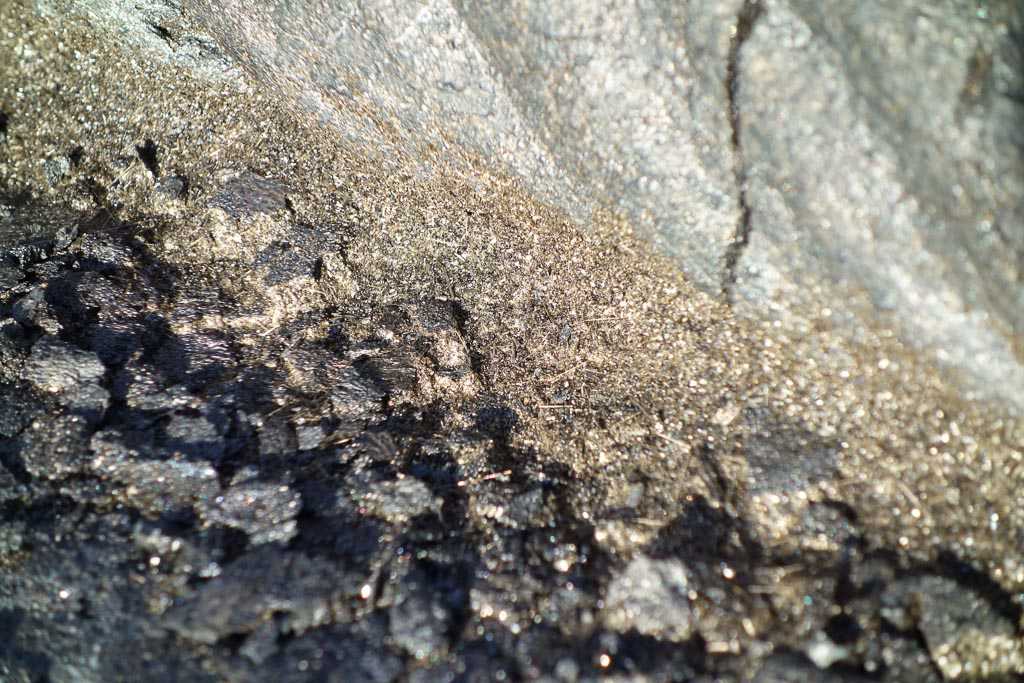
Visible in some small patches is a type of lava called Pele’s hair, which looks like little gold hairs.
##Reaching the Flow After walking for a couple miles, the first hints of the flow were upon us. The newer lava had a slightly different texture and it was possible to feel the heat below through your feet.
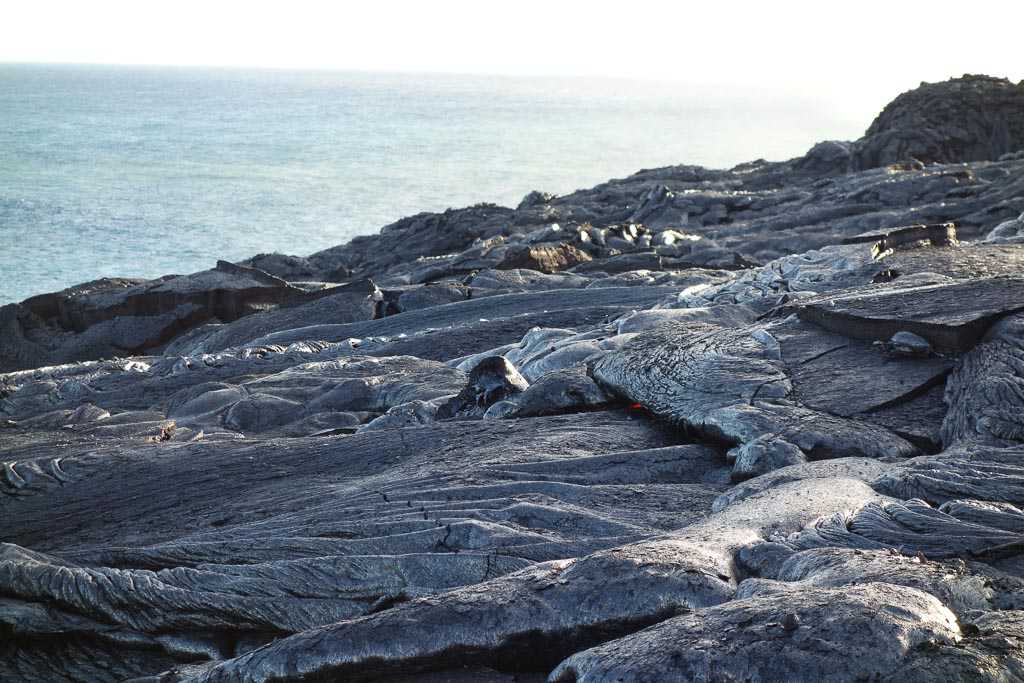
Recent lava flows harden quickly, but are still very hot and have a beautiful red glow underneath.

Flows can begin anywhere, and change form and direction quite fast.


Our guide provided walking sticks for everyone, and a few people decided to try poking the lava.

Eventually it was time to leave the flows and continue on to the ocean entry location where lava meets the water.
Ocean Entry
From our vantage point at the flow area, we could see steam rising from the ocean, and we headed in that direction.
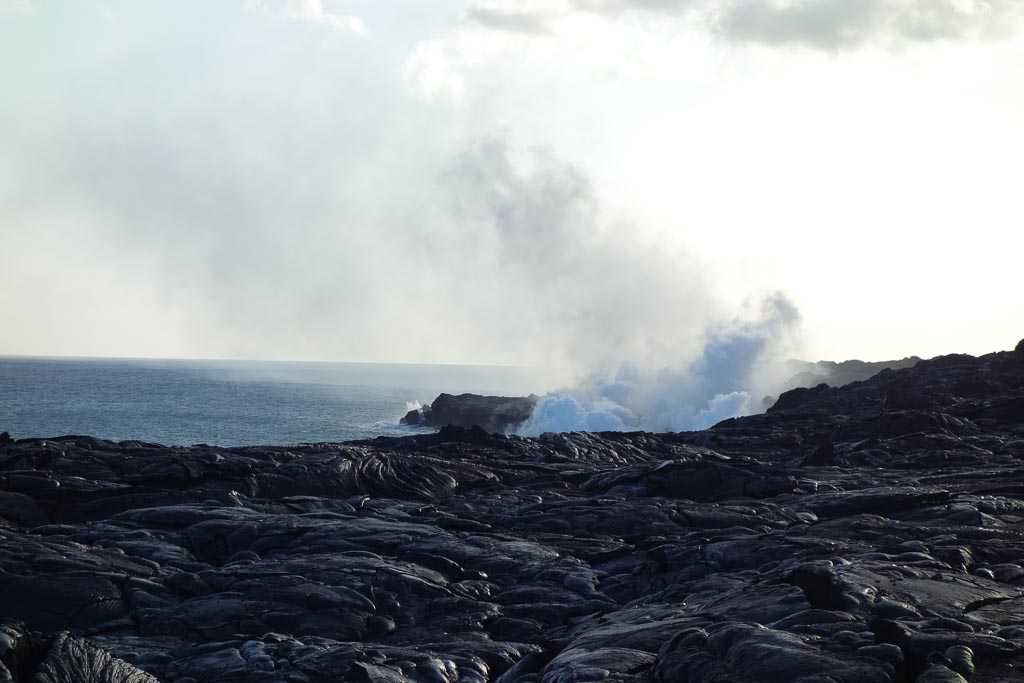
Along the way to the ocean entry there were few other interesting formations and artifacts.


Eventually we made it down to the ocean entry, and sat for an hour or so on the cliffs watching the lava flow into the ocean and listening to the waves. There were a few groups on boats, which get real close to the entry points. One benefit - the entire cliff area feels like heated car seats when on top of it.
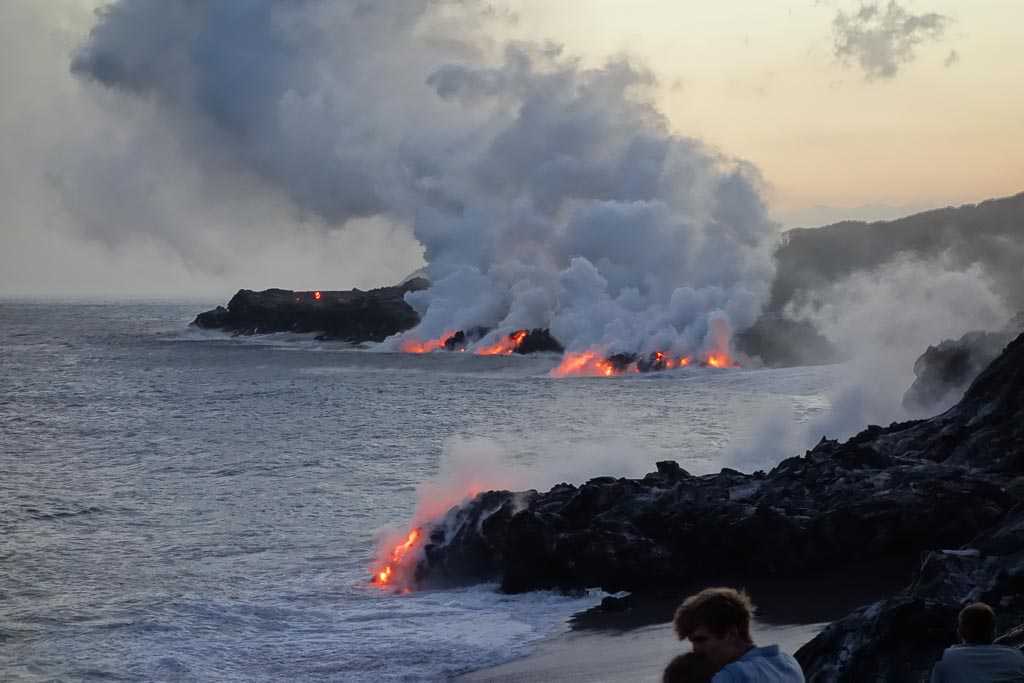
This was the best part of the trip, watching parts of the lava break off and listening to the waves crash against the shore whilst the newest land on earth is formed.
Return
Our return hike was in pitch darkness, lit only by flashlight. The stars above were amazingly bright, and I wished I had a tripod to setup a nice long shot of them. Hiking in darkness over uneven terrain can be a bit difficult. Be extremely careful, it’s easy to fall and get hurt. One person in our group tripped lightly, put a hand and knee down on the ground and ended up with multiple cuts and plenty of bleeding. One last thing I was surprised of, is how much hiking over that surface destroys the treads on shoes. My hiking shoes had only a few outings on them prior to this hike, but it nearly destroyed them.


Leave a Comment